
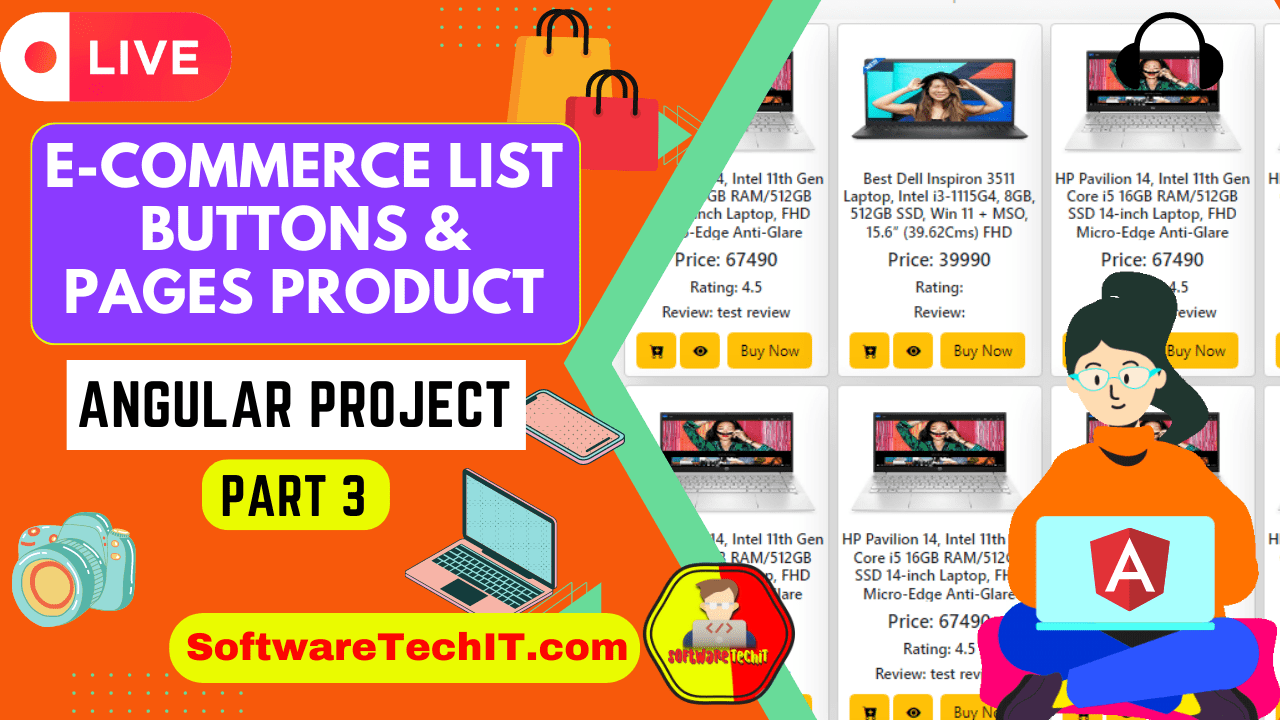
Angular Part 3 : Create Button Buy, Cart,View Details Pages | Create Ecommerce Angular Project EShop

Add Buttons In Product List
Here’s an example of how you can create a “Buy” button, “Cart” page, and “View Details” page in an Angular app:
- In your
productcomponent’s template, create a “Buy” button for each product. This button will call a function in theproduct.component.tsfile that will handle the logic for adding the product to the cart.
<div >
                    <button class="btn btn-warning" type="submit"
                       (click)="addToCart(product.id)"><i class="bi bi-cart-plus-fill"></i></button>
                        <button class="btn btn-warning m-1" type="submit"
                        [routerLink]="['/single-product',product.id]"><i class="bi bi-eye-fill"></i></button>
                    <button class="btn btn-warning m-1" type="submit"
                        onClick="window.open('https://shop.softwaretechit.com')">Buy Now</button>
                </div>
In the product.component.ts file, create the addToCart() function that will take in the selected product as a parameter and add it to an array (or any data structure of your choice) that will represent the cart.
import { Component, OnInit } from '@angular/core';
import { ProductService } from './product.service';

@Component({
  selector: 'app-product',
  templateUrl: './product.component.html',
  styleUrls: ['./product.component.css']
})
export class ProductComponent implements OnInit {
  products: any;
  cart: any[] = [];

  constructor(private productService: ProductService) { }

  ngOnInit() {
    this.productService.getProducts().subscribe(data => {
      this.products = data;
    });
  }

buyProduct(product) {
    // code to buy the product
  }

  addToCart(product) {
    this.cart.push(product);
  }

  viewDetails(product) {
    // Navigate to the view details page and pass the selected product as a parameter
  }
}
- Create a new component called
cartusing the commandng generate component cart - In the
cartcomponent’s template, display the items in the cart by looping through thecartarray and displaying their information. - Create a new component for the product’s details page, let’s call it
product-details/ single-product. In theviewDetailsfunction ofproductcomponent, we are using router to navigate to this new component with the product’s id as a parameter.
ng generate component product-details
In the product-details component class (product-details.component.ts), you can retrieve the product’s ID from the route parameters and use it to make an API call to retrieve the product’s details. And use the product-details.component.html to display the details of the product.
Finally, in your app-routing.module.ts file, add a new route for the product-details component, and include the parameter for the product’s ID.
import { ProductDetailsComponent } from './product-details/product-details.component';

const routes: Routes = [
  { path: 'product-details/:id', component: ProductDetailsComponent },
  // other routes
];

@NgModule({
  imports: [RouterModule.forRoot(routes)],
  exports: [RouterModule]
})
export class AppRoutingModule { }
This is a basic example and you can customize the implementation as per your needs. You can use different libraries or services to handle the cart and the purchase process.