
Table of Contents
Sure! Here’s an example of a angular reactive form for login, A Angular Reactive Login Form along with an explanation of each step and the usage of Bootstrap for styling:
Now Start To Create A Angular Reactive Form For Login
1. Create a new Angular component for the login form:
import { Component } from '@angular/core';
import { FormGroup, FormControl, Validators } from '@angular/forms';

@Component({
  selector: 'app-login',
  templateUrl: './login.component.html',
  styleUrls: ['./login.component.css']
})
export class LoginComponent {
  loginForm: FormGroup;

  constructor() {
    this.loginForm = new FormGroup({
      email: new FormControl('', [Validators.required, Validators.email]),
      password: new FormControl('', Validators.required)
    });
  }

  onSubmit() {
    if (this.loginForm.valid) {
      // Perform login logic
    }
  }
}
In the template file (login.component.html),
create the form and utilize Bootstrap for styling:
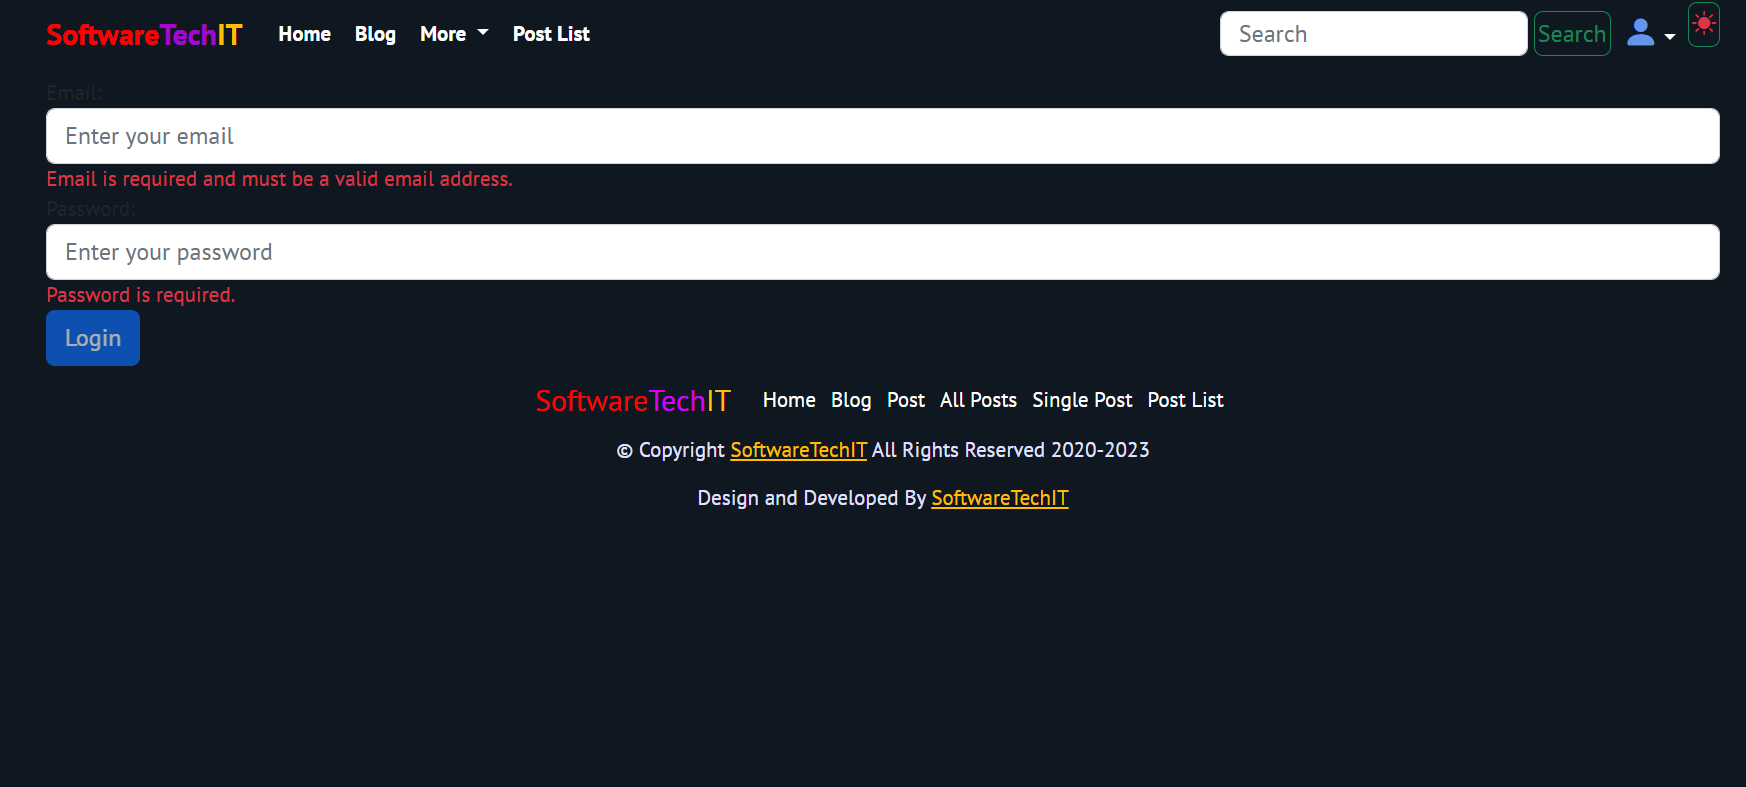
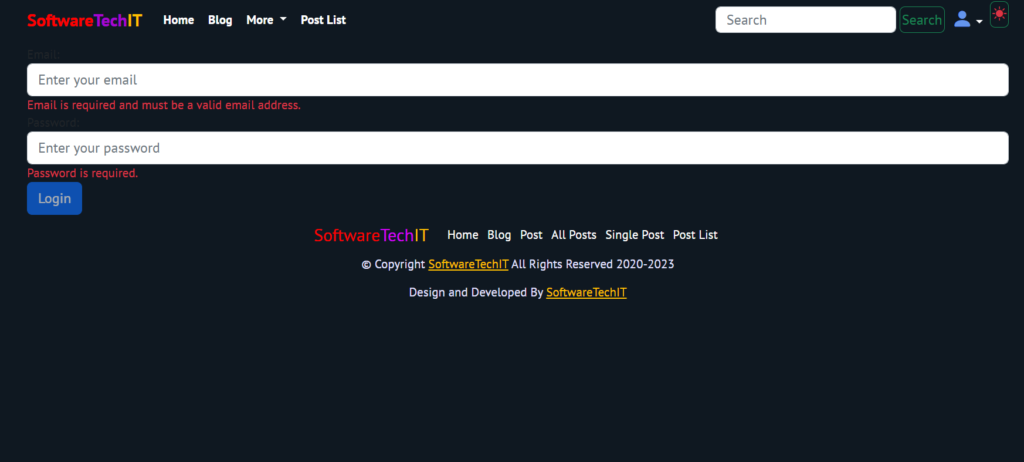
<form [formGroup]="loginForm" (ngSubmit)="onSubmit()" class="container">
  <div class="form-group">
    <label for="email">Email:</label>
    <input type="email" formControlName="email" class="form-control" placeholder="Enter your email">
    <div *ngIf="loginForm.get('email').invalid && loginForm.get('email').touched" class="text-danger">
      Email is required and must be a valid email address.
    </div>
  </div>
  <div class="form-group">
    <label for="password">Password:</label>
    <input type="password" formControlName="password" class="form-control" placeholder="Enter your password">
    <div *ngIf="loginForm.get('password').invalid && loginForm.get('password').touched" class="text-danger">
      Password is required.
    </div>
  </div>
  <button type="submit" [disabled]="loginForm.invalid" class="btn btn-primary">Login</button>
</form>
In the above code, we define a FormGroup called loginForm and add two FormControls (email and password) to it. Validators are used to ensure that the email and password fields are required and meet specific criteria. Bootstrap classes are applied to the form elements (form-group, form-control, btn) to style them accordingly.
- Finally, add the necessary CSS styles to the component’s CSS file (login.component.css) to further customize the appearance of the form.
By following these steps and utilizing Bootstrap classes for styling, you can create a responsive and visually appealing reactive Angular form for login.
Sure! Here’s an example of how you can add necessary CSS styles using Bootstrap in your login.component.css file:
/* login.component.css */

/* Center the login form vertically and horizontally */
.container {
  display: flex;
  justify-content: center;
  align-items: center;
  height: 100vh;
}

/* Add padding and background color to the form */
.login-form {
  padding: 20px;
  background-color: #f8f9fa;
}

/* Style the form inputs */
.form-control {
  margin-bottom: 15px;
}

/* Style the login button */
.btn-login {
  background-color: #007bff;
  border-color: #007bff;
  color: #fff;
}

/* Add margin to the "Forgot Password" link */
.forgot-password {
  margin-top: 10px;
}

/* Add margin to the "Create Account" link */
.create-account {
  margin-top: 10px;
}
In the above example, we assume that you have already included the Bootstrap CSS file in your project. The styles provided above demonstrate how you can center the login form, style the form inputs, login button, and adjust margins for the “Forgot Password” and “Create Account” links.
Make sure to link this CSS file to your login.component.html file using the styleUrls property in the @Component decorator.
@Component({
  selector: 'app-login',
  templateUrl: 'login.component.html',
  styleUrls: ['login.component.css']
})
Remember to adjust the class names in the CSS file based on your HTML structure and class names.
Angular Reactive Forms provide a powerful way to handle form inputs and validations in Angular applications. Let’s explain how you can implement a login form using Angular Reactive Forms:
- Import the necessary Angular modules and classes:
- Import
ReactiveFormsModulefrom@angular/formsin your module file (e.g.,app.module.ts). - Import
FormGroupandFormControlfrom@angular/formsin your component file (e.g.,login.component.ts).
- Create a FormGroup instance:
- In your component file (e.g.,
login.component.ts), create a new instance ofFormGroupin your component class. - Inside the
ngOnInitlifecycle hook or a method where you initialize your form, create a new instance ofFormGroupand assign it to a property in your component class. For example:loginForm: FormGroup;
- Create form controls using FormControl:
- Inside the same method where you initialize your form, create instances of
FormControlfor each input field in your form. - Assign these form controls to properties in your
FormGroupinstance. For example:this.loginForm = new FormGroup({ username: new FormControl(), password: new FormControl() });
- Bind the form controls to input fields in the template:
- In your template file (e.g.,
login.component.html), bind the form controls to the input fields using theformControlNamedirective. - For example,
<input type="text" formControlName="username">and<input type="password" formControlName="password">.
- Implement form validations:
- You can add various validators to your form controls to enforce specific rules for input values.
- Validators can be added while creating the form controls or later using the
setValidatorsmethod. - Common validators include
required,minLength,maxLength, and custom validators. - You can display error messages based on the validation status using Angular’s template syntax, such as
*ngIf.
- Handle form submission:
- In your component file, implement a method to handle the form submission.
- You can subscribe to the
valueChangesobservable of theFormGroupto listen for changes in form values. - Use the
validproperty of theFormGroupto determine if the form is valid before submitting.
Reactive Forms provide a more flexible and testable approach to handling forms in Angular applications. They allow you to handle form inputs, validations, and form submission in a reactive manner. By utilizing the built-in validators and error handling features, you can create robust and user-friendly forms in your Angular application.
Releted Posts:-
Create A Angular Reactive Login Form | Login Form Using Bootstrap And Angular
Create A Angular Reactive Login Form | Login Form Using Bootstrap And Angular
Angular Part 6-1: Add Product In Cart And Update Table Using Flask API | Create Ecommerce Angular
Angular : Create Product List And API Call | Create ECommerce Angular Project With API Call
Call Web API from angular 8 Example |API In Angular Create Website
Angular Vs React: Difference Between Angular and React
10 Best Angular UI Libraries | 10 best angular ui components library
Angular 16 Is Launch: Discover the Top 7 Features | Angular Developer


Pingback: Angular 16 Is Launch: Discover the Top 7 Features | Angular Developer - SoftwareTechIT